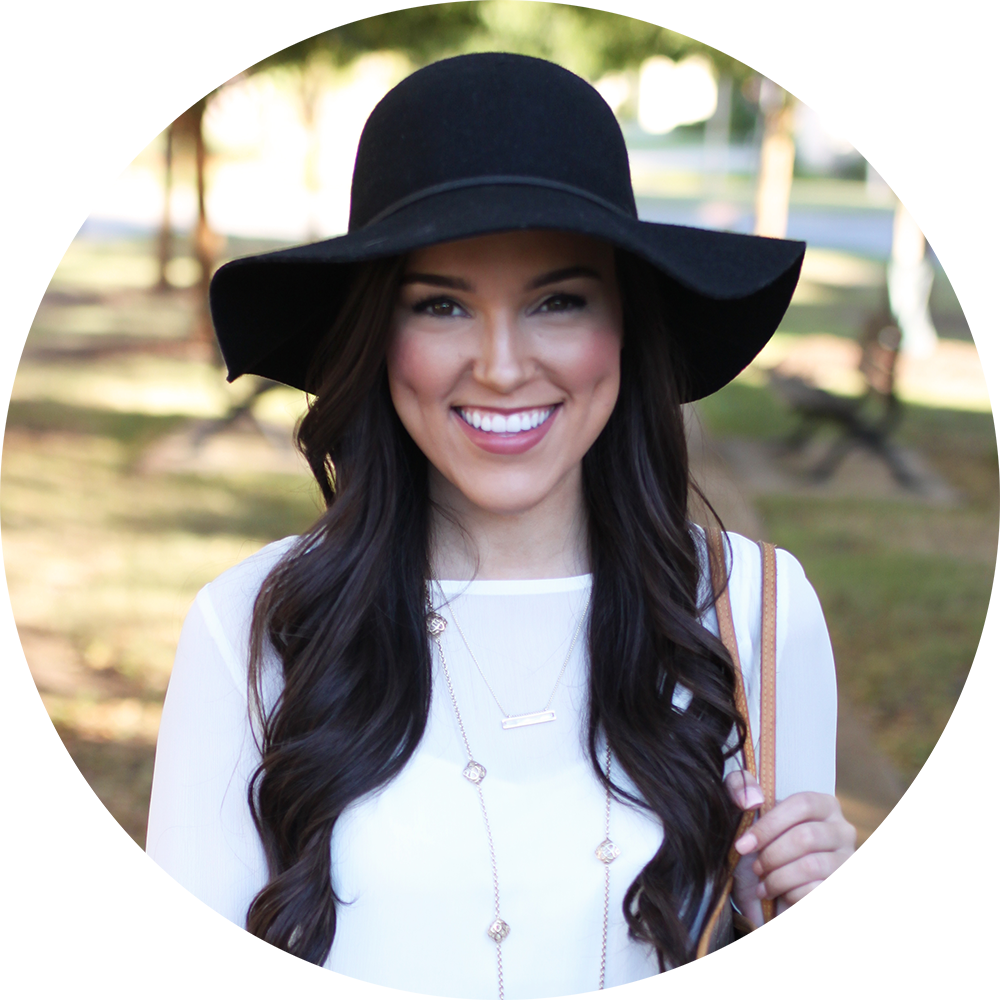
I'll be the first to admit, I love to stay in my comfort zone when it comes to hair. I tend to just curl my hair with a curling wand, and call it a day.
However, I'm always stalking gorgeous hairstyles on Instagram and Pinterest! So I finally decided I was going to try my hand at one - and I'm so happy I did. This pull-through braid is incredibly simple, and since I nailed it on the first try (hallelujah!) I knew I had to share on the blog.
Here's how to get the look....
Step 1: Prep
You'll need:
1) Clear hair elastics
2) Dry Shampoo
- I used Bed Head Rockaholic Dirty Secret Dry Shampoo
3) Anti-frizz spray
- I used Bed Head Get Twisted - launching soon!
4) Hairspray
- I used Bed Head Masterpiece Hairspray
5) Optional: Shine Spray
- I used Bed Head Headrest
Side note: All of these Bed Head products are sold at Ulta Beauty and online at ulta.com! (Where my Ulta Beauty junkies at?? *raises my own hand*)
Step 2: Add Some Grit
I recommend doing this hairstyle with second day hair so it's dirtier/will hold better. If your hair is a little too oily, then dry shampoo will absorb the oil from your roots and give it a fresher look. Dry shampoo also helps to add texture and grit. This is going to make your hair less slippery and more likely to stay in place.
Step 3: Form The First Section
Grab the top section of your hair and tie with a clear elastic. This will look like a normal half-up/half-down hairstyle.
Step 4: Create The Second Section
Clip that first section up over your head - just to get it out of the way. Now grab two sections of hair underneath it. Drop section #1 back down, bring your two new sections together on top of section #1, and tie those with a clear elastic. That may sound a little weird, so just look at the pics above for visuals!
Step 5: Repeat
Now repeat the above steps until you've reached the bottom of your hair. I ended up with 10 "sections" of hair. (P.S. Yes, I know the hairstyle looks crazy here... just keep scrolling!)
Step 6: Make it Messy
Now start pulling at the sides of the "braid" to make it a little messier and to cover the hair elastics. This will make your hair look fuller and more boho. You can also pull pieces down from the front to frame your face.
Step 7: Finish off with Styling Products
I'm a big product junkie, so I don't feel like any look is complete without all the good stuff! I used Bed Head Get Twisted Anti-Frizz Spray around my face to help with flyaways.
Then, I sprayed all over with Bed Head Masterpiece Hairspray to lock in this hairstyle. This hairspray is medium hold - so it was awesome at keeping my hair in place, but I was still able to run my fingers through my hair with no problem afterwards! It also helps with humidity, which is a huge bonus here in Louisiana.
For a little extra sparkle and shine, I sprayed a little Headrush. This product is lightweight, so I didn't feel like I was putting too much product in my hair.
And voila... there you have it! I hope you liked seeing a super simple way to create a beautiful hairstyle!
---------------------------------
I want to give a quick thanks to Bed Head by TIGI for sponsoring this post! I'll be traveling to New York City this weekend to attend College Fashion Week as one of their guests and I cannot wait. If you'll be attending CFW too, let me know so we can meet up! :)
Xx,
Karli
*Thanks to Bed Head and Her Campus for sponsoring this post.*


chin-length bob with textured layers at the end. My bangs are a couple inches long and I wear them swept to the side. Your results will vary with your hair cut and type. malaysian remy hair
ReplyDelete